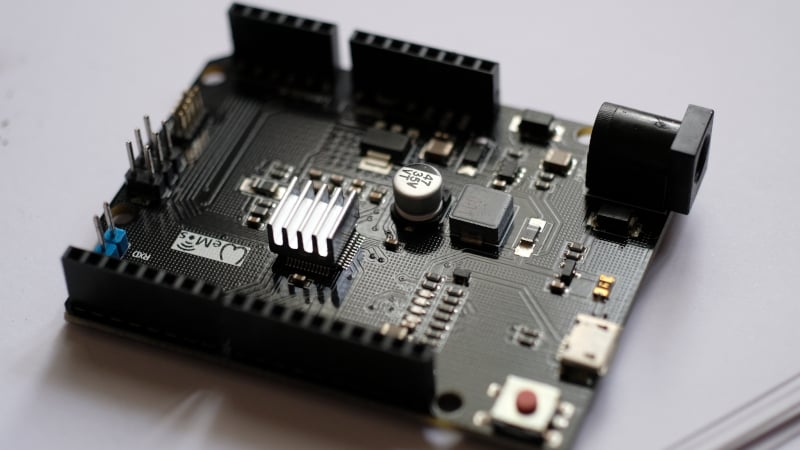
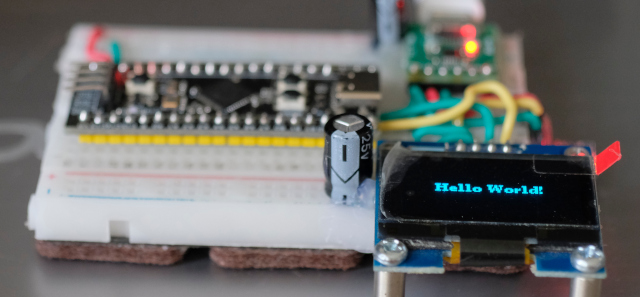
From the previous article, we have experimented with controlling the digital signal output by driving the LED circuit connected to the STM32 microcontroller board, both Cortex-M0, Cortex-M3 and Cortex-M4. to import digital signals and use an example of connecting a switch circuit to control the on or off of an LED lamp as shown in Figure 1.
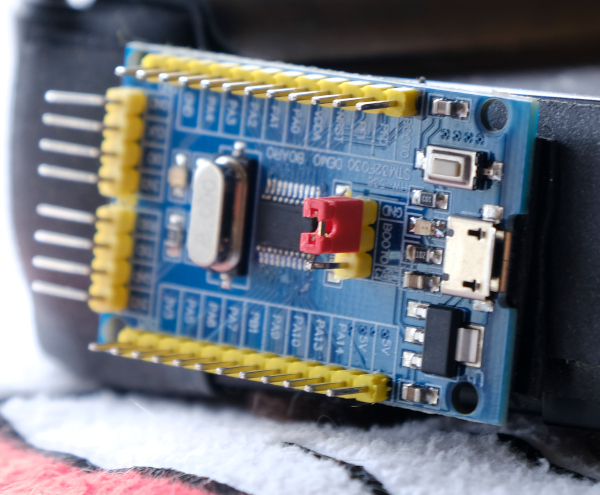
From the previous article, we have tried writing a program to study the elements of various files that we need, we found that there are quite a lot of details and steps. But it is an important basis for those who want to seriously and usefully study Cortex-M0 programming via STM32F030F4P6 (Figure 1), Cortex-M3 with STM32F103C (Figure 32) and Cortex-M4 with STM32F401CCU6 (Figure 27) to study of programming structure with programming tool STM32CubeIDE (Figure 2), which is the main tool used in this series of articles. This is because it combines ST’s complete development kit for ARM, including CubeMX for chip design, compiler toolkit, ST-Link program debugging tool and code editor in one tool, plus it supports both Windows, Linux and macOS operating systems.
This article is a series of programming articles focused on the Cortex-M0 via the STM32F030F4P6 or any other STM32 microcontroller based on CMSIS, an ARM firmware compiled from vivonomicon.com‘s series of Bare Metal: STM32 Programming articles without using the Arduino framework. In the article EP.1 is a matter of preparation. It consists of creating a link file to link different parts of the code together and the working part file. After that, the result file is uploaded into the microcontroller to complete the program development process.
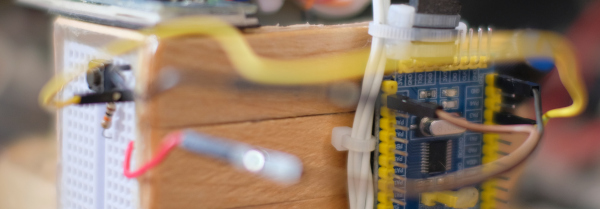
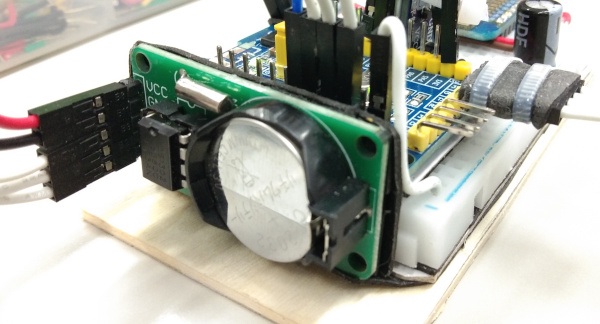
From the article programming Python on Micropython to use RTC number DS1302, this time, we change the programming language to C++ for Arduino by using STM32F030F4P6 Cortex-M0, esp8266 and Arduino Mega as a worker instead of ESP32 as shown in Figures 1, 2 and 6 by show the report on the RS232 port to display the date and time as shown in Figure 4.
This article is about using a 32-bit microcontroller board under the Cortex-M0 architecture RISC that is economical but the performance is considerably better than the 8-bit board. However, our team has created an alternative for those who are interested in reading. The article starts with the content about the features of microcontrollers, board installation for Arduino IDE to know and example code to toggle LED, traffic through the USART communication port and Prime numbering test to see the processing speed in an iterative loop.